Essential Preparations for Car Detailing Routine Step by Step
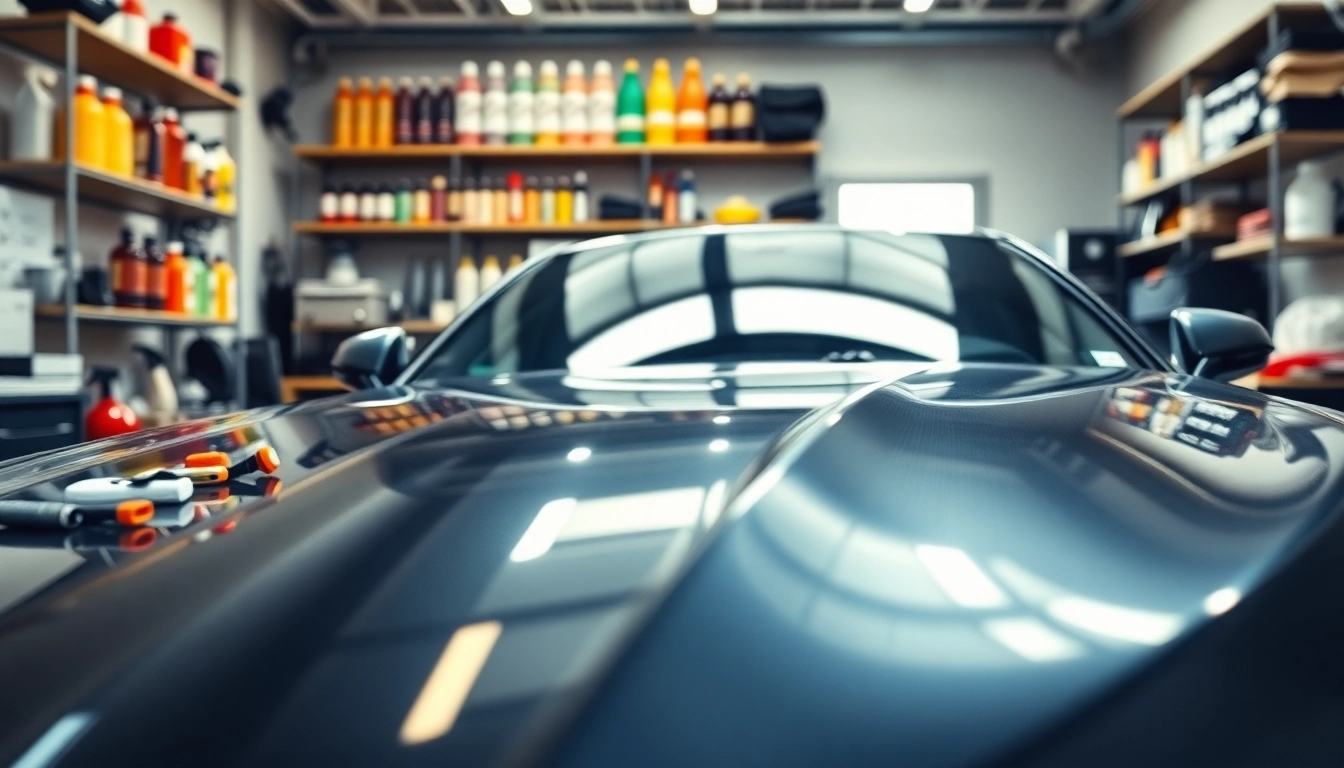
Embarking on a car detailing routine step by step can be a rewarding experience, transforming your vehicle from dull to dazzling. However, this process necessitates proper preparation. Understanding what tools and products to utilize, preparing your workspace, and knowing the different car surface types are vital components that set the stage for an effective detailing routine.
Choosing the Right Tools and Products
The quality of your detailing results largely depends on the tools and products selected. Essential items include:
- Microfiber Towels: For drying and buffing without scratching surfaces.
- Buckets: Two-bucket method: one for washing and one for rinsing.
- Detailing Brushes: For intricate areas like vents and crevices.
- Car Shampoo: A pH-balanced product for an effective wash.
- Clay Bar: For removing embedded dirt and contaminants.
- Wax or Sealant: To provide protection and shine.
- Vacuum Cleaner: For thorough cleaning of upholstery and carpets.
Preparing Your Workspace
Setting up an effective workspace is crucial for an efficient detailing process. Here are steps to consider:
- Choose a Shaded Area: Direct sun can cause products to dry too quickly.
- Clear the Space: Ensure you have ample room to maneuver around the vehicle.
- Organize Tools: Keep tools within reach to streamline the process.
- Water Supply: Ensure you have access to water for rinsing and washing.
Understanding Car Surface Types
Cars comprise various surface types that require specific treatment:
- Paint: Requires specific cleaners and protectants to avoid damage.
- Glass: Needs dedicated glass cleaners for streak-free shine.
- Wheels: Heavily soiled and often require stronger cleaners.
- Upholstery: Different fabrics and leathers need varying cleaning methods. Careful product selection helps maintain the integrity of each surface.
Step by Step Guide to Exterior Car Detailing
Now that preparations are in place, let’s dive into the detailed exterior car detailing routine.
Thorough Exterior Wash Techniques
The foundation of a great detailing job starts with a proper wash. Follow this process:
- Initial Rinse: Use a pressure washer or hose to remove loose dirt.
- Foam Application: Apply a thick layer of foam to lubricate and encapsulate dirt. Let it dwell for a few minutes.
- Washing: Use the two-bucket method. One bucket with soapy water for washing and the other for rinsing the wash mitt. Start from the top and work downwards.
- Final Rinse: Rinse thoroughly to ensure no soap residue remains.
Drying the Vehicle Without Streaks
After washing, it’s essential to dry the vehicle properly to prevent streaks or water spots:
- Use Microfiber Towels: They are super absorbent and gentle on surfaces.
- Pat Dry: Instead of rubbing, pat the surface to avoid scratching.
- Dry the Wheels: Utilize a separate towel for wheels to prevent cross-contamination.
Special Focus on Wheels and Tires
Wheels and tires often harbor the most dirt and brake dust, which requires a dedicated approach:
- Clean the Tires First: Apply a tire cleaner and use a stiff brush to remove grime.
- Detail the Wheels: Use a dedicated wheel cleaner and brush for effective cleaning.
- Rinse Thoroughly: Ensure all products are completely rinsed off to avoid damage.
- Dress the Tires: Apply a tire dressing for a glossy finish and protection.
Comprehensive Interior Car Detailing Routine Step by Step
With the exterior sparkling, it’s time to turn attention to the interior of the vehicle.
Vacuuming and Cleaning Car Upholstery
Cleaning starts from the top down:
- Vacuum First: Use a vacuum with attachments to reach all nooks and crannies.
- Extract Stains: Use a fabric cleaner or steam cleaner for upholstery stains.
- Clean Mats: Remove, shake out, and clean separately.
Detailing Surfaces: Dashboard and Console
The interior surfaces require specific care:
- Use Microfiber Cloths: They are ideal for dusting sensitive electronic surfaces.
- Apply Interior Cleaner: Use a gentle cleaner to remove grime.
- Condition Leather: If applicable, use leather conditioner to maintain suppleness.
Finishing Touches for Interior Spaces
Final checks on the interior can enhance the overall ambiance:
- Air Freshener: Consider adding a pleasant scent.
- Details on Door Panels: Wipe and clean all door panels.
- Final Vacuum: A last-minute vacuum ensures nothing is missed.
Protective Measures in Car Detailing Routine Step by Step
Protection is crucial to maintaining the results of the detailing process for the long haul.
Waxing and Sealing the Exterior
Post-wash, it’s time to apply protection:
- Choose the Right Wax: Consider ease of application versus durability.
- Even Application: Use a foam applicator to apply wax evenly.
- Allow to Cure: Follow product instructions for curing times before buffing.
- Buff Off: Use a clean microfiber cloth to reveal a glossy, protected finish.
Applying Protective Coatings on Interior Surfaces
Just as the exterior needs protection, so does the interior:
- Use UV Protectant: Apply to dashboards and leather to prevent sun damage.
- Fabric Protectant: Consider applying on upholstery for stain resistance.
Choosing the Right Products for Longevity
Invest in high-quality products that enhance durability and efficacy over time:
- Research Compatibility: Choose products specifically designed for your vehicle's materials.
- Read Reviews: User experience can guide your choices for effectiveness.
Common Mistakes to Avoid in Car Detailing Routine Step by Step
Even seasoned detailers can make slip-ups. Here are common mistakes to avoid:
Overlooking Dusty Areas
Dust can settle in various nooks and crannies. Always check under seats and in cup holders during cleaning.
Wrong Product Applications
Using the incorrect product can lead to damages. Always read labels thoroughly before use.
Neglecting Regular Maintenance
Avoid waiting too long between detailings. Regular maintenance helps maintain appearance and value.
FAQs
What is the importance of a car detailing routine step by step?
Following a car detailing routine step by step ensures your vehicle remains clean, well-maintained, and retains its value. Regular detailing also enhances your driving experience.
Can I detail my car at home?
Absolutely! With the right tools and products, you can easily follow a car detailing routine step by step at home, achieving professional-looking results.
How long does it take to complete a full car detailing?
A full car detailing can take anywhere from 2 to 8 hours depending on the vehicle's size and condition. Each step requires attention for optimal results.
Do I need special products for different surfaces?
Yes, different surfaces require specific products. For instance, use a glass cleaner for windows and a leather conditioner for leather surfaces to avoid damage.
How often should I follow the car detailing routine step by step?
For best results, follow a car detailing routine step by step every 1-3 months, with additional regular maintenance washes in between.